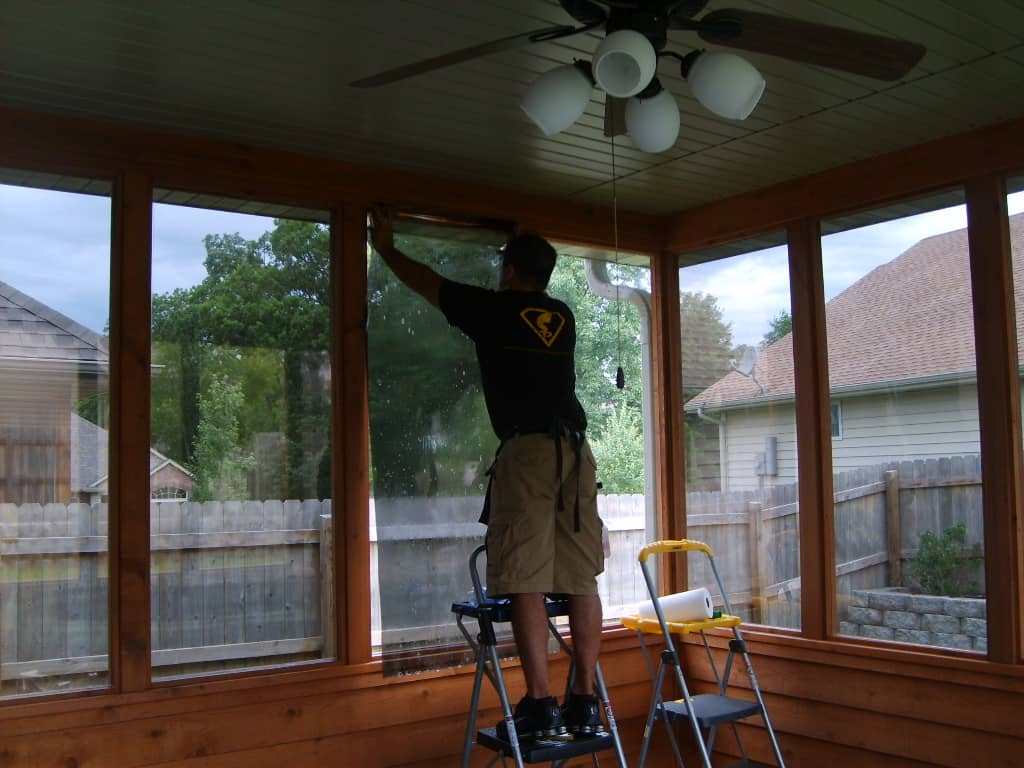
 Whether the film on your home’s windows is fading, bubbling, or you’re just tired of looking at it, getting rid of it can seem like a challenge. Rather than simply trying to peel it off and then deal with the sticky mess that’s left behind, try these three simple techniques for removing residential window tinting.
1. Steam
The easiest way to remove window tinting is using steam and patience. A fabric steamer works best and if you don’t already own one, an inexpensive model can usually be purchased for under $30. You can also try a tile and grout steamer or a floor steam cleaner. Make sure to have several razor blades on hand for scraping as well.
Hold the steamer up to one corner of the window and allow the area to heat up. The adhesive will begin to soften and you’ll be able to lift up one corner of the tint with your fingernail or a razor blade. Hold the steamer so it heats under the lifted corner and very slowly work your way across the window. Take your time and don’t rush the process to achieve the best results. Use a razor blade to scrape off any residual adhesive.
2. Ammonia & Time
If you’re unable to get a steamer, or the steaming process didn’t work, regular household ammonia and either a putty knife or razor blades should do the trick. First, be sure to cover any upholstery, carpet, or wood as prolonged exposure to ammonia can damage these surfaces. Also, make sure you’re working in a well-ventilated area as ammonia fumes can be harmful to people and pets.
Soaking window tint in ammonia will loosen the adhesive and allow you to scrape it off the window using a putty knife or razor blades. It will, however, evaporate quickly so the best way to keep it on the film long enough is to cover it with plastic wrap or a trash bag to prevent evaporation. Once applied, let it sit for 45 minutes and then scrape off the tint, reapplying ammonia as needed for tricky areas.
3. Ammonia & Heat
If you’re trying to remove stubborn tinting and the first two techniques didn’t work, a combination of the two methods should get the job done. First, spray the window with ammonia and cover with plastic wrap or a trash bag. Then, use a hair dryer on the very lowest setting to gently warm the area and help melt the glue. Be sure to use a sweeping motion and stay at least 12 inches from the plastic. The idea is to slowly warm the adhesive, not melt the plastic.
After the window has had time to warm, use a razor blade to peel up a corner of the window tint and slowly peel back trying to get the entire layer of film off in one piece. Use the razor and a bit of ammonia to scrape up any tricky spots or residual adhesive. Finally, thoroughly clean with window cleaner.
Plenty of Patience
No matter which method you use, be sure to bring an abundance of patience with you. Removing window tint doesn’t have to be difficult as long as you work slowly and allow the film to peel up when it is ready rather than trying to fight it.
Have a professional help
Need a window tinting pro? Then look no further than Daystar Window Tinting, a regularlink.com member!